How to Use Notifications in Avada Forms
Este es un resumen del artículo. Si necesitas contexto adicional, aquí tienes el enlace original: https://avada.com/blog/how-to-use-notifications-in-avada-forms/
Avada Forms, built using the Avada Form Builder, offers a powerful way to collect information from WordPress website visitors; however, the real value lies in understanding what happens after a form is submitted. That’s where form notifications come in. Notifications ensure that both the site owner (or relevant departments) and the end user receive the correct information at the right time.
This guide walks through the setup of notifications in Avada Forms, explains the available fields, and shows how to apply conditional logic for more advanced workflows.
Overview
Avada Form Notifications Explained
Notifications in Avada Forms are managed under the Form Options tab. However, they are only available if the form is set to use Ajax submission (found under the Submission tab).
In addition to notifications, submission actions can also be configured; however, the focus will be entirely on notifications for now.
Setting Up Avada Forms Notifications
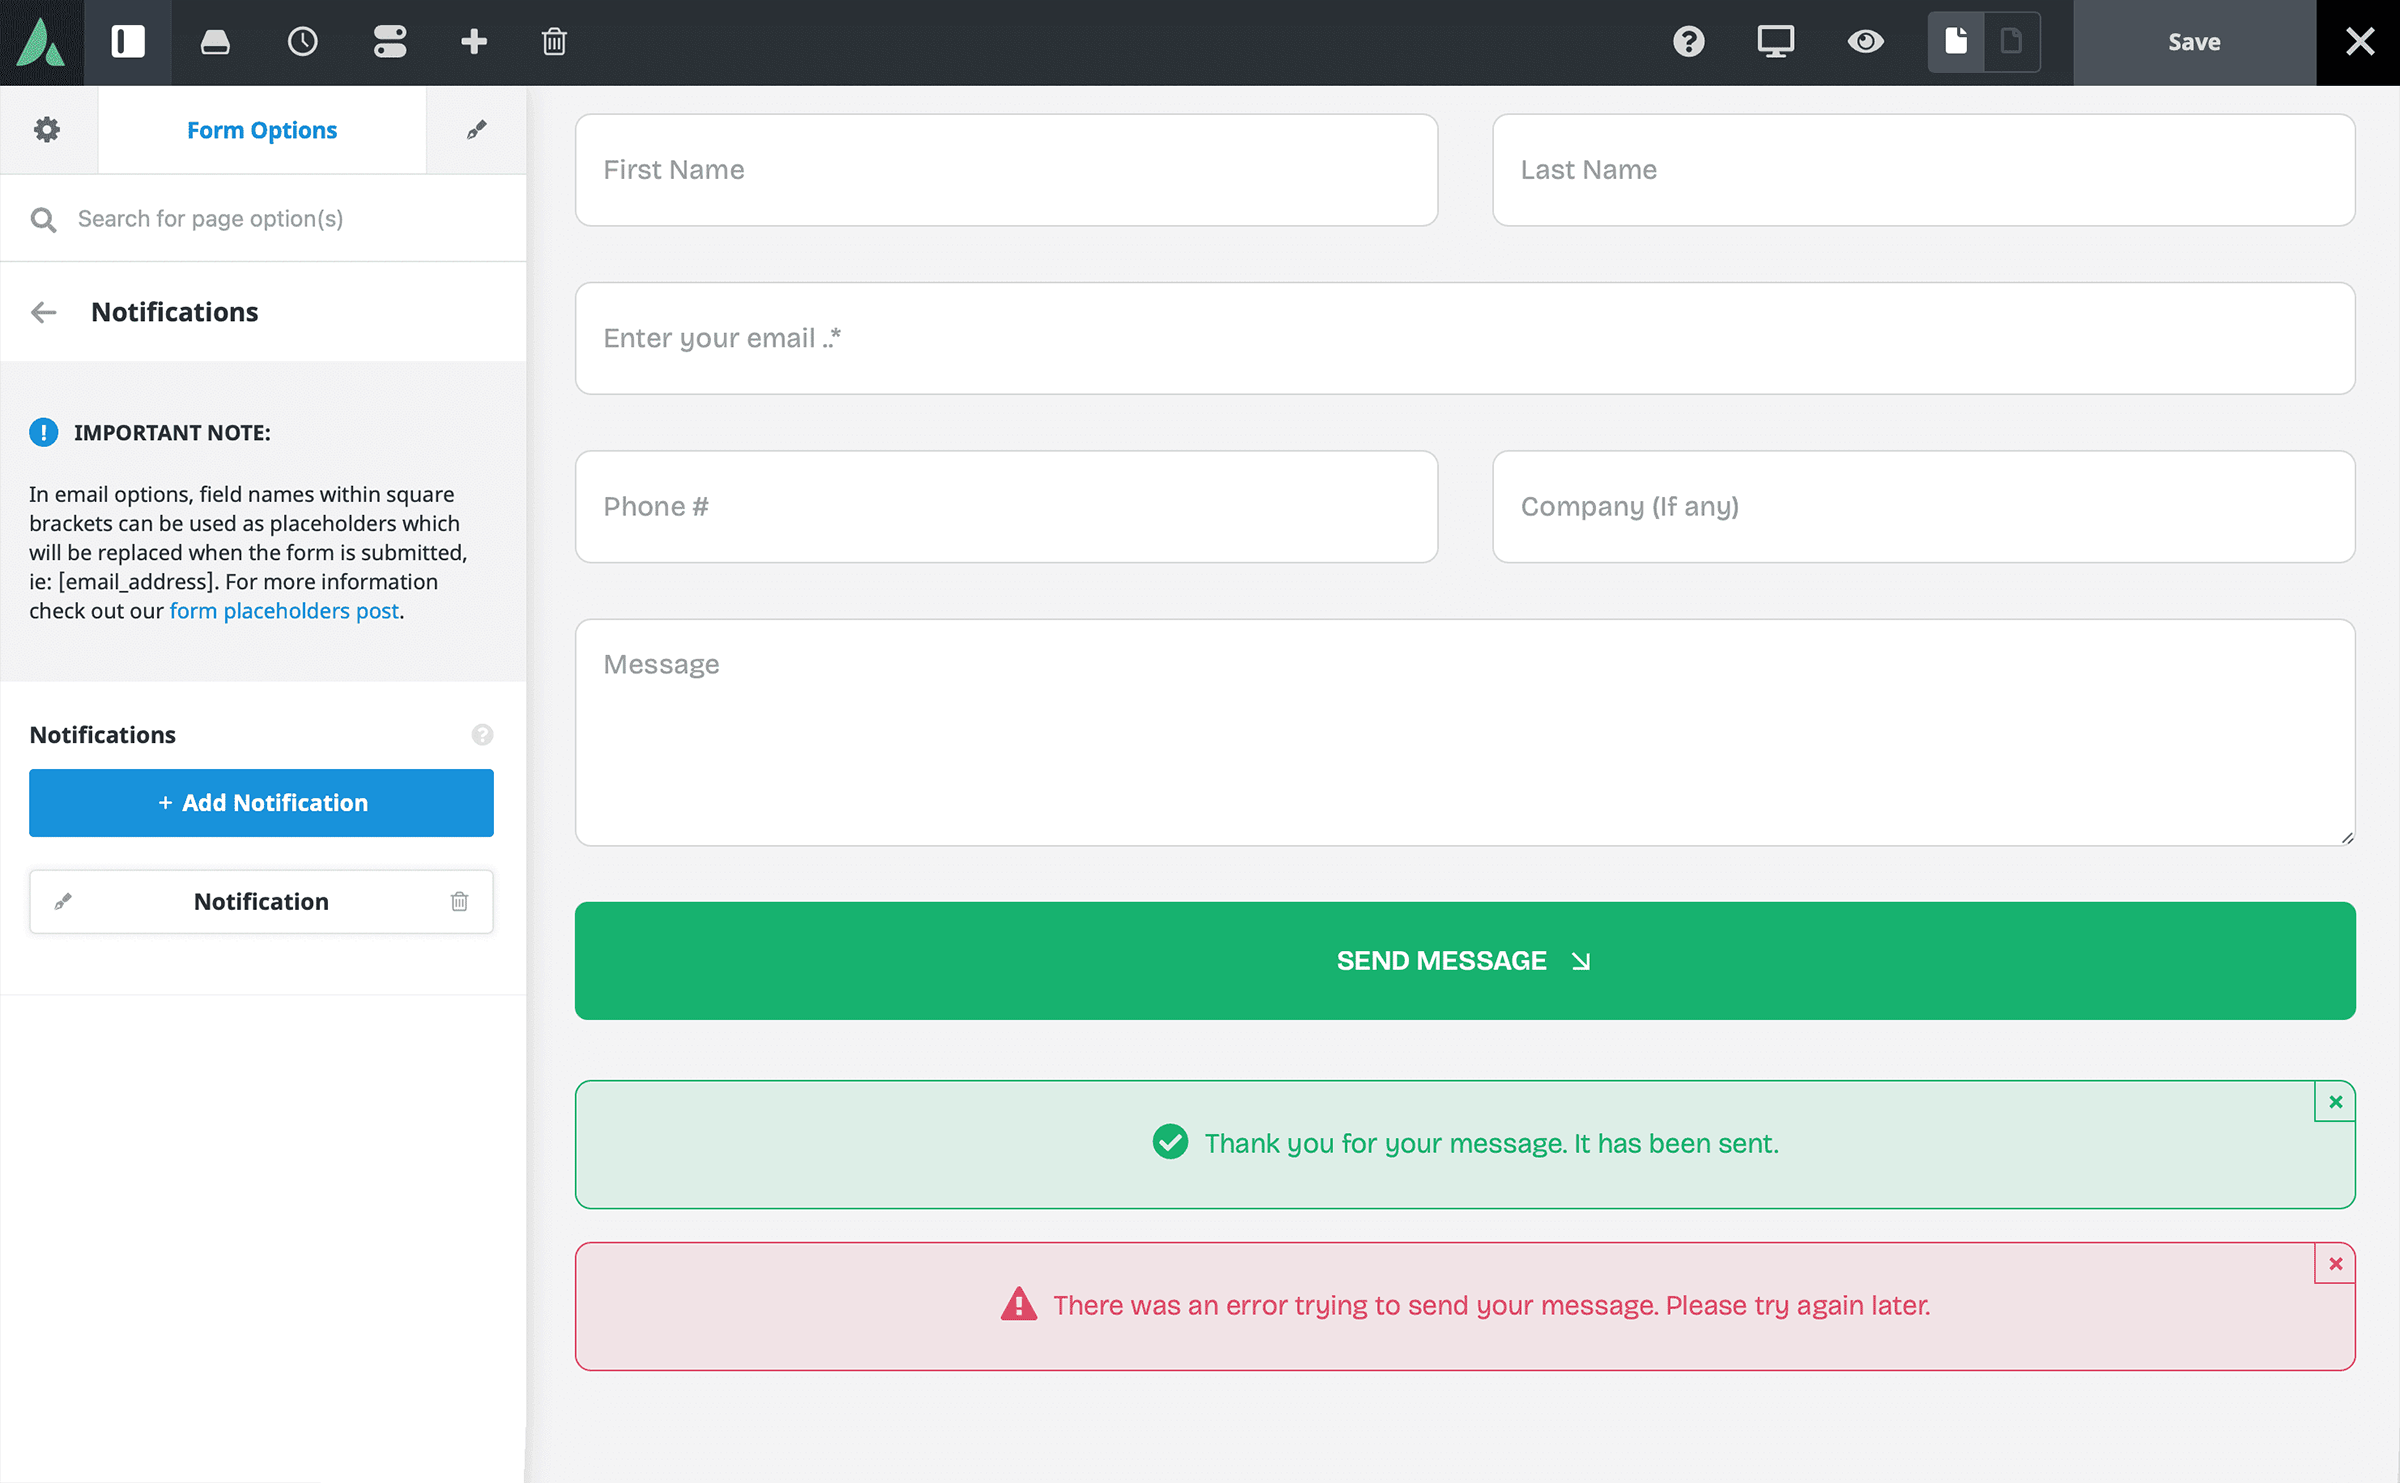
To add a notification, navigate to the Notifications tab and click Add Notification. Avada immediately creates a blank notification ready for customization. Multiple notifications can be made for different purposes, such as:
13 Avada Form Notifications Options
Each notification contains several fields that define how the email is delivered and what it contains.
1. Label
The label is an internal identifier for the notification. Examples might include General Inquiry, Auto Reply, or Executive Department. This helps distinguish between multiple notifications.
2. Email
This is the recipient address where the notification will be sent. Additional copies can be sent using the CC and BCC fields. An example would be: support@mywebsite.com
3. CC Email
The CC field allows you to send a copy of the same notification to additional recipients, and importantly, all recipients can see who else has received it.
4. BCC Email
The BCC field also sends a copy of the notification, but other recipients won’t see these addresses.
5. Email Subject
The subject line can be static (e.g., “Executive Inquiry”) or use placeholders, such as [subject], if the form includes a subject field. If left blank, the form title is used as the subject.
6. Encode Mail Subject
No/Yes – This option ensures special characters display correctly in subject lines. While helpful in some cases, certain hosting environments or email clients may experience issues; therefore, use with caution.
7. Email From Name
By default, WordPress will appear as the sender name. However, placeholders can personalize this. For example:
.fusion-syntax-highlighter-1 > .CodeMirror, .fusion-syntax-highlighter-1 > .CodeMirror .CodeMirror-gutters {background-color:var(–awb-color2);}
This will pull the first and last name from the submitted form, provided the field names match.
8. Sender Email
This field specifies the email address the notification appears to come from. Best practice is to use an address from your own domain, such as contact@mywebsite.com or wordpress@mywebsite.com
It’s essential not to use the user’s submitted email here. Doing so could trigger spam filters and reduce deliverability since most mail servers check sender authenticity.
9. Reply-To Email
This field allows responses to go directly to the form submitter. It requires a specific format:
.fusion-syntax-highlighter-2 > .CodeMirror, .fusion-syntax-highlighter-2 > .CodeMirror .CodeMirror-gutters {background-color:var(–awb-color2);}
This ensures replies are correctly directed to the user while still sending from a domain-verified email address.
10. Attach Uploaded Files
Yes/No – If the form includes a file upload field, setting this option to Yes attaches uploaded files to the notification email.
11. Word Wrap For Labels
Yes/No – Enabling this option ensures labels in the email wrap properly, improving the readability for end users.
12. Email Message
This is the body of the email. If left blank, the default message (including all submitted fields) is used. Custom messages can be created using placeholders such as [all_fields] or individual field names in square brackets.
13. Conditional Logic
Conditional Logic allows notifications to be sent only when certain conditions are met. For example:
Multiple logic conditions can be set up for complex workflows. For more detailed information, see the How To Use Conditional Logic In Avada Forms help file.
Best Practices for Avada Form Notifications
Summary
Notifications in Avada Forms provide a flexible way to manage form submissions. Whether sending inquiries to different departments, delivering auto-replies to users, or attaching uploaded files, Avada gives site owners full control over the process. By combining best practices with conditional logic, notifications can become a powerful tool for communication and workflow automation.